

May 22,2026
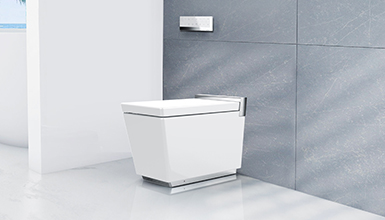
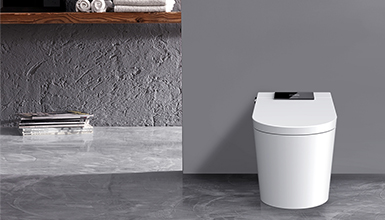
Smart toilet lids eventually need replacement. Maybe yours stopped working. Maybe you want to upgrade to a newer model. Or perhaps you are moving and want to take your old unit with you. Whatever the reason, knowing how to remove and replace a smart toilet lid saves you time and a service call. This guide walks you through the process step by step.
Before you remove the old unit, ask yourself: Does the problem come from the lid itself or from something else? Check the power supply, water connection, and mounting bolts. If everything else seems fine but the lid still acts up, replacement is probably your better bet. Learning how to remove and replace a smart toilet lid is easier than many people think.
Gather a few basic tools before you start. You will likely need:
Turn off the water supply valve behind the toilet. Flush once to empty the tank. Unplug the power cord if your existing lid uses electricity. For hardwired units, flip the circuit breaker off. These steps make removing and replacing a smart toilet lid a clean and safe job.
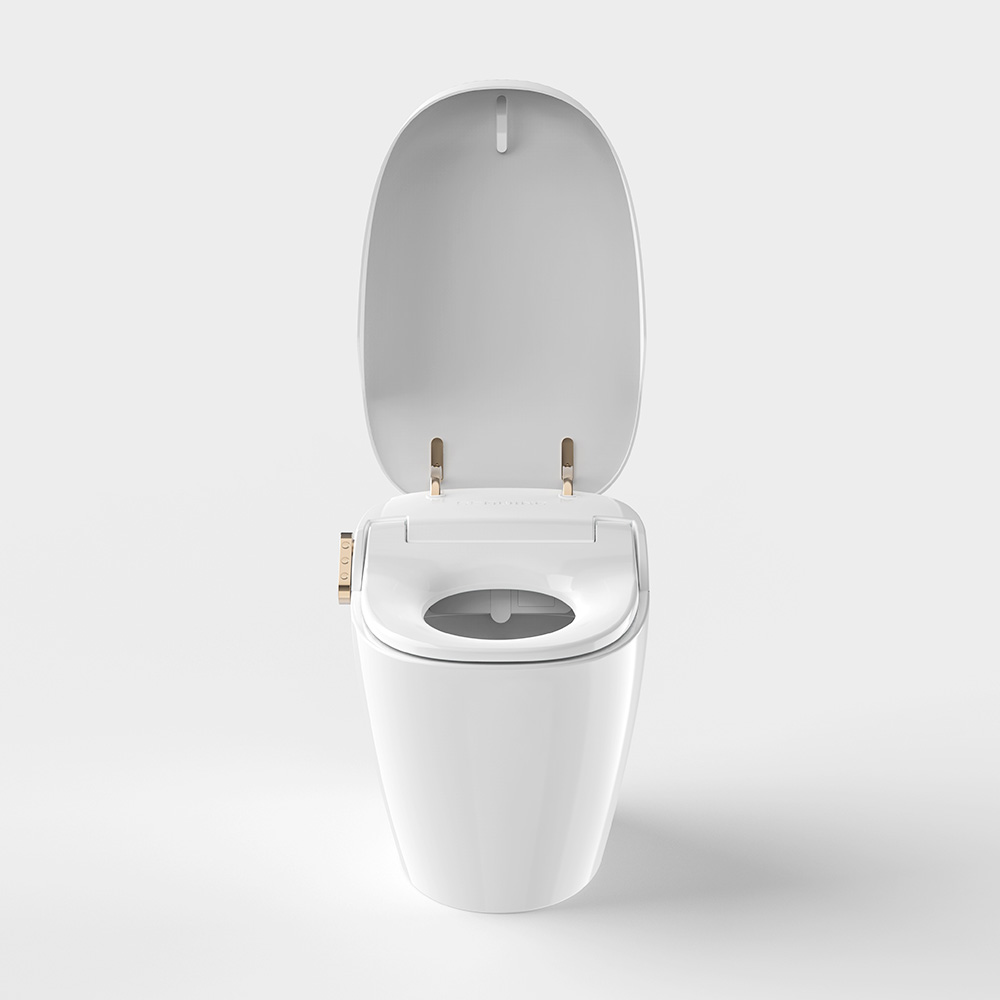
Many smart toilet lids attach to the bowl using a mounting plate and two bolts. Here is how to take the old one off.
Once the old unit is off, you have finished the hard part. Now you are ready to learn how to remove and replace a smart toilet lid with a new one – the steps are almost the same in reverse.
Putting on a new lid is usually simpler than taking the old one off. Follow these steps.
|
Step |
Action |
|
1 |
Attach the new mounting plate to the bowl using the included bolts and washers. Tighten evenly, but do not over tighten – ceramic can crack. |
|
2 |
Connect the water supply hose to the new lid. Hand tighten it, then give it another quarter turn with a wrench. |
|
3 |
Plug in the power cord or reconnect hardwired connections. If you flipped a breaker, turn it back on. |
|
4 |
Slide the new lid onto the mounting plate until you hear a click. That click means it has locked into place. |
|
5 |
Turn the water supply back on slowly. Check for leaks around the hose connection. |
After following these steps, test the basic functions – seat heating, bidet spray, and auto flush if available. If everything works, you have successfully learned how to remove and replace a smart toilet lid.
Even with careful work, small issues can pop up. Here are a few and how to handle them.
Many problems are easy to fix without calling a technician. Knowing how to remove and replace a smart toilet lid already puts you ahead of many homeowners.
Replacing a smart toilet lid is not as hard as it looks. Most jobs take under an hour with basic tools. Once you understand how to remove and replace a smart toilet lid, you never need to pay for a service visit just for this task. Take your time, follow the steps in order, and test everything before closing up. A new smart toilet lid can make your bathroom feel fresh again, with better hygiene, comfort, and modern features.
Copyright © Seewin Technology (Zhejiang) Co., Ltd.All Rights Reserved.
Customized Functional Electric Smart Toilet Factory

 English
 中文简体
中文简体 русский
 Français
 Español
 عربى
عربى Türk
Türk


